
Total Shoulder Arthroplasty Using a Bone-Sparing, Precision Multiplanar Humeral Prosthesis


TAKE-HOME POINTS
- Bone-preserving shoulder arthroplasty is now available and rapidly growing in the US.
- The calibrated, multiplanar instruments and prosthesis shown here allow surgeons to recreate the normal humerus shape with high precision.
- The elliptical, non-spherical design of the humerus prosthesis has shown improved shoulder kinematics compared to standard spherical prostheses.
- The implant rests on dense bone proximal to the anatomic neck where bone support is strong.
- Glenoid implant insertion is routinely performed using this technique and access is facilitated by the angled bone resections.
Next, the surgeon slides the cannulated reamer over the long guidewire pin and under power removes a small portion of the humeral head subchondral bone until the surgeon feels and observes that the reamer is no longer removing bone (Figure 4). The patent-pending reamer design prevents the surgeon from removing more than a few millimeters of bone, after which point the reamer spins on the surface of the bone without resecting further.
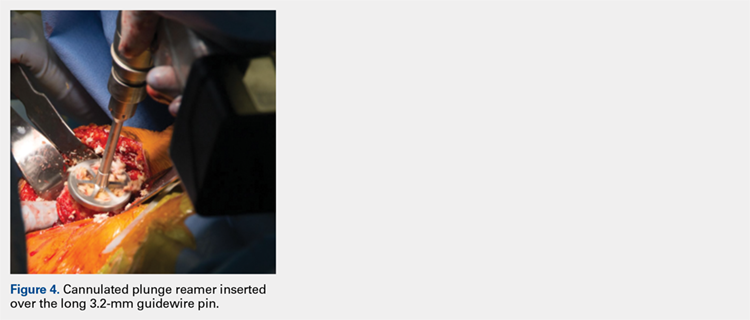
The surgeon is aware that the reamer has achieved its desired depth when it is no longer creating new bone shavings, and the surgeon can hear and feel that the reamer is spinning and no longer cutting. Then the surgeon removes the reamer.
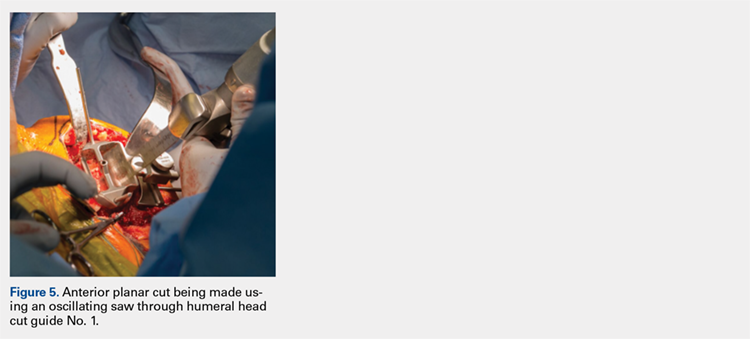
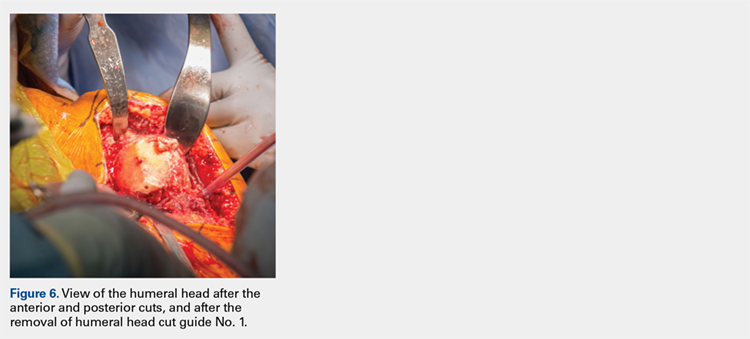
The surgeon places the first humeral cut guide over the long guidewire pin, oriented superiorly-inferiorly and secures the guide using 4 short pins, and the long pin is removed. The surgeon uses an oscillating saw to cut the anterior and posterior plane cuts through the saw captures in the cut guide (Figure 5). The humeral cut guide and short pins are removed (Figure 6).
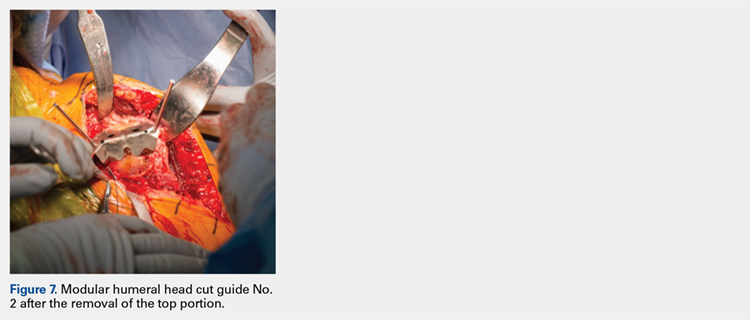
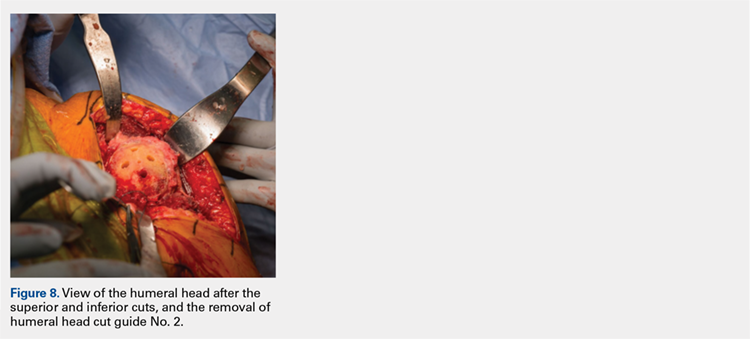
The surgeon then applies the second humeral cut guide to the proximal humerus and secures it using 2 short pins. The surgeon then uses the 6-mm drill to drill the 4 holes for the pegs of the implant. The top portion of the guide is removed, and the surgeon makes the superior and inferior cuts along the top and bottom surfaces of the guide using an oscillating saw (Figure 7).
The surgeon then uses a rongeur to slightly round the edges of the 4 corners at the periphery of the humerus. The second humeral cut guide and short pins are removed (Figure 8).
Continue to: Next, the surgeon trials...

